Three.js is a powerful JavaScript library that brings 3D rendering to the browser using WebGL. In this tutorial, we’ll set up a basic scene and add several common 3D shapes — great for learning or building the foundation of an interactive experience.
What You will Build
We’ll:
- Initialize a basic Three.js scene
- Set up a camera and light
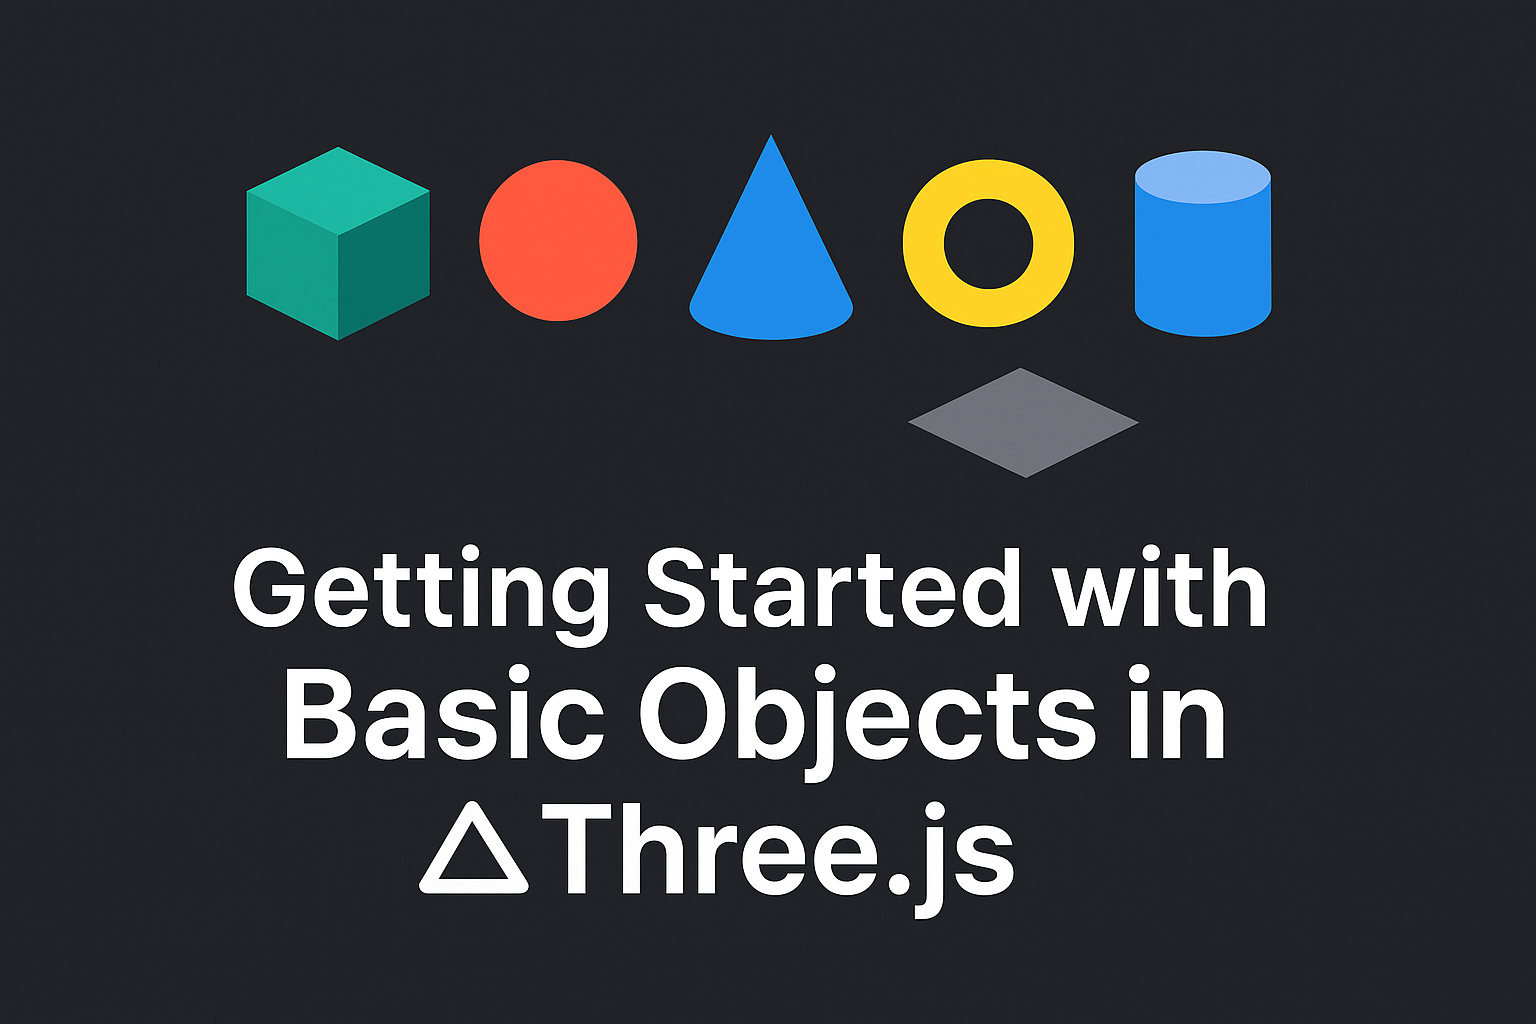
- Add a cube, sphere, cone, torus, cylinder, and plane
- Render everything in the browser
Project Setup
Start with a minimal HTML + JS project. Create these two files:
index.html
HTML
<!DOCTYPE html>
<html lang="en">
<head>
  <meta charset="UTF-8" />
  <meta name="viewport" content="width=device-width, initial-scale=1.0" />
  <title>Three.js Basic Objects</title>
  <style>body { margin: 0; }</style>
</head>
<body>
  <script type="module" src="main.js"></script>
</body>
</html>
main.js
JavaScript
import * as THREE from 'https://unpkg.com/three@0.158.0/build/three.module.js';This will load the library from official Three.JS CDN
Create the Scene, Camera, and Renderer
In main.js, set up the basics:
JavaScript
const scene = new THREE.Scene();
scene.background = new THREE.Color(0xdddddd);

const camera = new THREE.PerspectiveCamera(75, window.innerWidth/window.innerHeight, 0.1, 1000);
camera.position.z = 5;

const renderer = new THREE.WebGLRenderer({ antialias: true });
renderer.setSize(window.innerWidth, window.innerHeight);
document.body.appendChild(renderer.domElement);
Default scene background is light gray – 0xdddddd
Add a Light Source
Use a directional light to the scene to add some light, so we can see 3D shading:
JavaScript
// Directional light for better contrast
const directionalLight = new THREE.DirectionalLight(0xffffff, 0.8);
directionalLight.position.set(5, 5, 5);
scene.add(directionalLight);
Add Basic Objects
Cube
JavaScript
const cubeGeometry = new THREE.BoxGeometry();
const cubeMaterial = new THREE.MeshStandardMaterial({ color: 0x44aa88 });
const cube = new THREE.Mesh(cubeGeometry, cubeMaterial);
cube.position.x = -3;
scene.add(cube);
Sphere
JavaScript
const sphere = new THREE.Mesh(
  new THREE.SphereGeometry(0.7, 32, 32),
  new THREE.MeshStandardMaterial({ color: 0xcc4444 })
);
sphere.position.x = -1;
scene.add(sphere);
Cone
JavaScript
const cone = new THREE.Mesh(
  new THREE.ConeGeometry(0.6, 1.2, 32),
  new THREE.MeshStandardMaterial({ color: 0x4466dd })
);
cone.position.x = 1;
scene.add(cone);
Torus
JavaScript
const torus = new THREE.Mesh(
  new THREE.TorusGeometry(0.5, 0.2, 16, 100),
  new THREE.MeshStandardMaterial({ color: 0xffff00 })
);
torus.position.x = 3;
scene.add(torus);
Cylinder
JavaScript
const cylinder = new THREE.Mesh(
  new THREE.CylinderGeometry(0.5, 0.5, 1, 32),
  new THREE.MeshStandardMaterial({ color: 0x00ccff })
);
cylinder.position.y = -1.5;
scene.add(cylinder);
Plane (Ground)
JavaScript
const plane = new THREE.Mesh(
  new THREE.PlaneGeometry(10, 10),
  new THREE.MeshStandardMaterial({ color: 0x333333, side: THREE.DoubleSide })
);
plane.rotation.x = -Math.PI / 2;
plane.position.y = -2;
scene.add(plane);
Animation Loop
Let’s rotate some shapes and start rendering:
JavaScript
function animate() {
  requestAnimationFrame(animate);

  cube.rotation.x += 0.01;
  cube.rotation.y += 0.01;
  torus.rotation.x += 0.01;
  torus.rotation.y += 0.01;

  renderer.render(scene, camera);
}

animate();
You Now Have:
- A working 3D scene
- Lighting, camera, and rendering setup
- A bunch of 3D shapes to play with
- Interactive rotation and animation
Try Extending It
- Add orbit controls (
OrbitControls) to rotate the scene with the mouse - Add shadows and ambient light
- Group objects and apply transformations
- Load models (GLTF, OBJ)
Summary
This tutorial introduced you to the core of Three.js:
Scene,Camera,Renderer- Meshes with geometry and materials
- Adding multiple 3D primitives
- Animating and rendering
Please follow and like us: