State management is a key challenge in modern frontend applications. As apps grow, managing shared data (like user sessions, API responses, or UI state) becomes harder. NGRX is a powerful state management library for Angular that implements the Redux pattern using RxJS observables.
In this tutorial, we’ll go through the basics of NGRX step by step, including setup and examples.
What is NGRX?
- NGRX = Angular + Redux
- Provides a centralized store for application state.
- Uses actions, reducers, and selectors.
- Built on RxJS observables (reactive streams).
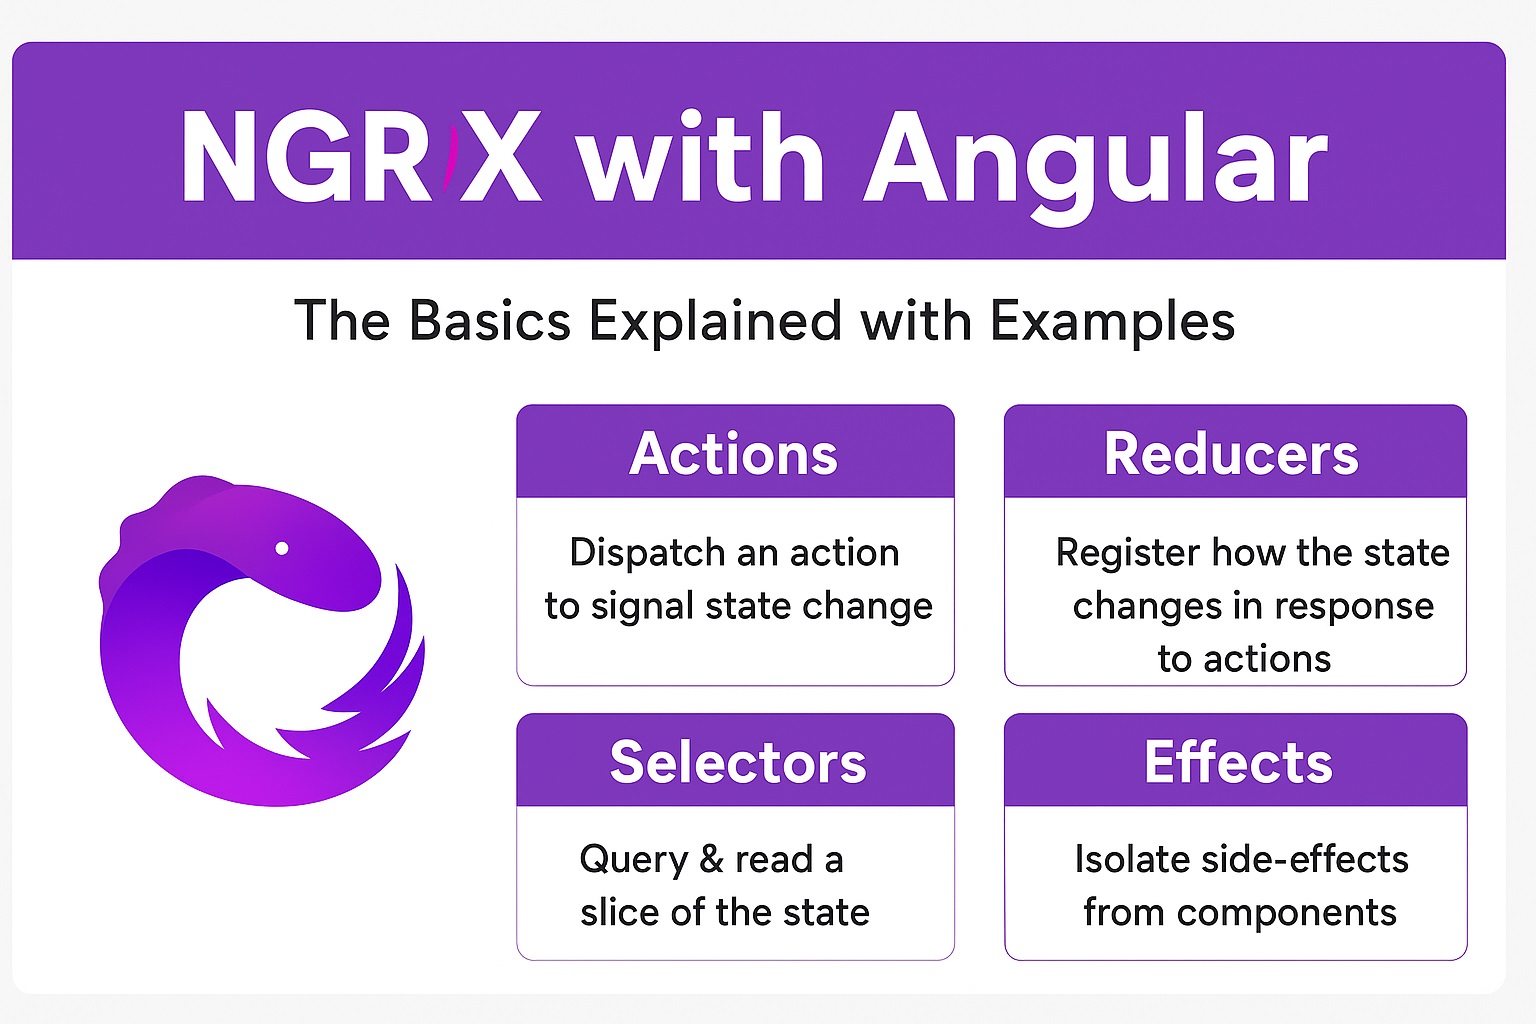
In short: You dispatch an action, a reducer updates the state, and selectors allow you to read the state.
Step 1: Install NGRX
Run inside your Angular project:
ng add @ngrx/store
ng add @ngrx/effects
ng add @ngrx/store-devtools
- @ngrx/store → Central store
- @ngrx/effects → For handling async tasks (like API calls)
- @ngrx/store-devtools → Debug state with Chrome/Edge DevTools
Step 2: Define the State
Let’s say we want to manage a list of books.
Create a file: src/app/store/book.model.ts
export interface Book {
  id: number;
  title: string;
  author: string;
}

export interface BookState {
  books: Book[];
}
Step 3: Define Actions
Actions represent what happened.
Example: Load books, add a book, remove a book.
File: src/app/store/book.actions.ts
import { createAction, props } from '@ngrx/store';
import { Book } from './book.model';

export const loadBooks = createAction('[Book] Load Books');

export const loadBooksSuccess = createAction(
  '[Book] Load Books Success',
  props<{ books: Book[] }>()
);

export const addBook = createAction(
  '[Book] Add Book',
  props<{ book: Book }>()
);

export const removeBook = createAction(
  '[Book] Remove Book',
  props<{ id: number }>()
);
Step 4: Create a Reducer
A reducer decides how state changes when actions happen.
File: src/app/store/book.reducer.ts
import { createReducer, on } from '@ngrx/store';
import { BookState } from './book.model';
import * as BookActions from './book.actions';

export const initialState: BookState = {
  books: []
};

export const bookReducer = createReducer(
  initialState,
  on(BookActions.loadBooksSuccess, (state, { books }) => ({
    ...state,
    books: [...books]
  })),
  on(BookActions.addBook, (state, { book }) => ({
    ...state,
    books: [...state.books, book]
  })),
  on(BookActions.removeBook, (state, { id }) => ({
    ...state,
    books: state.books.filter(b => b.id !== id)
  }))
);
Step 5: Create Selectors
Selectors are used to read state efficiently.
File: src/app/store/book.selectors.ts
import { createSelector, createFeatureSelector } from '@ngrx/store';
import { BookState } from './book.model';

export const selectBookState = createFeatureSelector<BookState>('books');

export const selectAllBooks = createSelector(
  selectBookState,
  (state: BookState) => state.books
);
Step 6: Register Store in App Module
Open app.module.ts:
import { NgModule } from '@angular/core';
import { BrowserModule } from '@angular/platform-browser';
import { StoreModule } from '@ngrx/store';
import { bookReducer } from './store/book.reducer';
import { StoreDevtoolsModule } from '@ngrx/store-devtools';

import { AppComponent } from './app.component';

@NgModule({
  declarations: [AppComponent],
  imports: [
    BrowserModule,
    StoreModule.forRoot({ books: bookReducer }),
    StoreDevtoolsModule.instrument({ maxAge: 25 })
  ],
  bootstrap: [AppComponent]
})
export class AppModule {}
Step 7: Using Store in a Component
Example: Display books and add a new one.
File: src/app/app.component.ts
import { Component } from '@angular/core';
import { Store } from '@ngrx/store';
import { Observable } from 'rxjs';
import { Book } from './store/book.model';
import { selectAllBooks } from './store/book.selectors';
import { addBook, removeBook } from './store/book.actions';

@Component({
  selector: 'app-root',
  templateUrl: './app.component.html',
})
export class AppComponent {
  books$: Observable<Book[]>;

  constructor(private store: Store) {
    this.books$ = this.store.select(selectAllBooks);
  }

  addNewBook() {
    const newBook: Book = {
      id: Math.random(),
      title: 'New Angular Book',
      author: 'John Developer'
    };
    this.store.dispatch(addBook({ book: newBook }));
  }

  deleteBook(id: number) {
    this.store.dispatch(removeBook({ id }));
  }
}
File: src/app/app.component.html
<h2>Book List</h2>
<ul>
  <li *ngFor="let book of books$ | async">
    {{ book.title }} - {{ book.author }}
    <button (click)="deleteBook(book.id)">Remove</button>
  </li>
</ul>

<button (click)="addNewBook()">Add Random Book</button>
Step 8: Handling API Calls with Effects
Effects handle side effects like fetching data from an API.
File: src/app/store/book.effects.ts
import { Injectable } from '@angular/core';
import { Actions, createEffect, ofType } from '@ngrx/effects';
import { of } from 'rxjs';
import { map, mergeMap, catchError } from 'rxjs/operators';
import * as BookActions from './book.actions';

@Injectable()
export class BookEffects {
  constructor(private actions$: Actions) {}

  loadBooks$ = createEffect(() =>
    this.actions$.pipe(
      ofType(BookActions.loadBooks),
      mergeMap(() =>
        // Simulated API call
        of([
          { id: 1, title: 'Angular Basics', author: 'Jane Doe' },
          { id: 2, title: 'NgRx in Action', author: 'John Smith' }
        ]).pipe(
          map(books => BookActions.loadBooksSuccess({ books })),
          catchError(() => of({ type: '[Book API] Load Failed' }))
        )
      )
    )
  );
}
Register in app.module.ts:
import { EffectsModule } from '@ngrx/effects';
import { BookEffects } from './store/book.effects';

@NgModule({
  ...
  imports: [
    BrowserModule,
    StoreModule.forRoot({ books: bookReducer }),
    EffectsModule.forRoot([BookEffects]),
    StoreDevtoolsModule.instrument({ maxAge: 25 })
  ],
  ...
})
export class AppModule {}
Conclusion
In this tutorial, we covered the basics of NGRX:
- Actions → describe what happened
- Reducers → decide how state changes
- Selectors → read state
- Effects → handle async operations
With this foundation, you can now scale your Angular apps with predictable state management and better debugging tools.